
Grout vs. Caulk: Choosing the Right Sealant for Tile Work

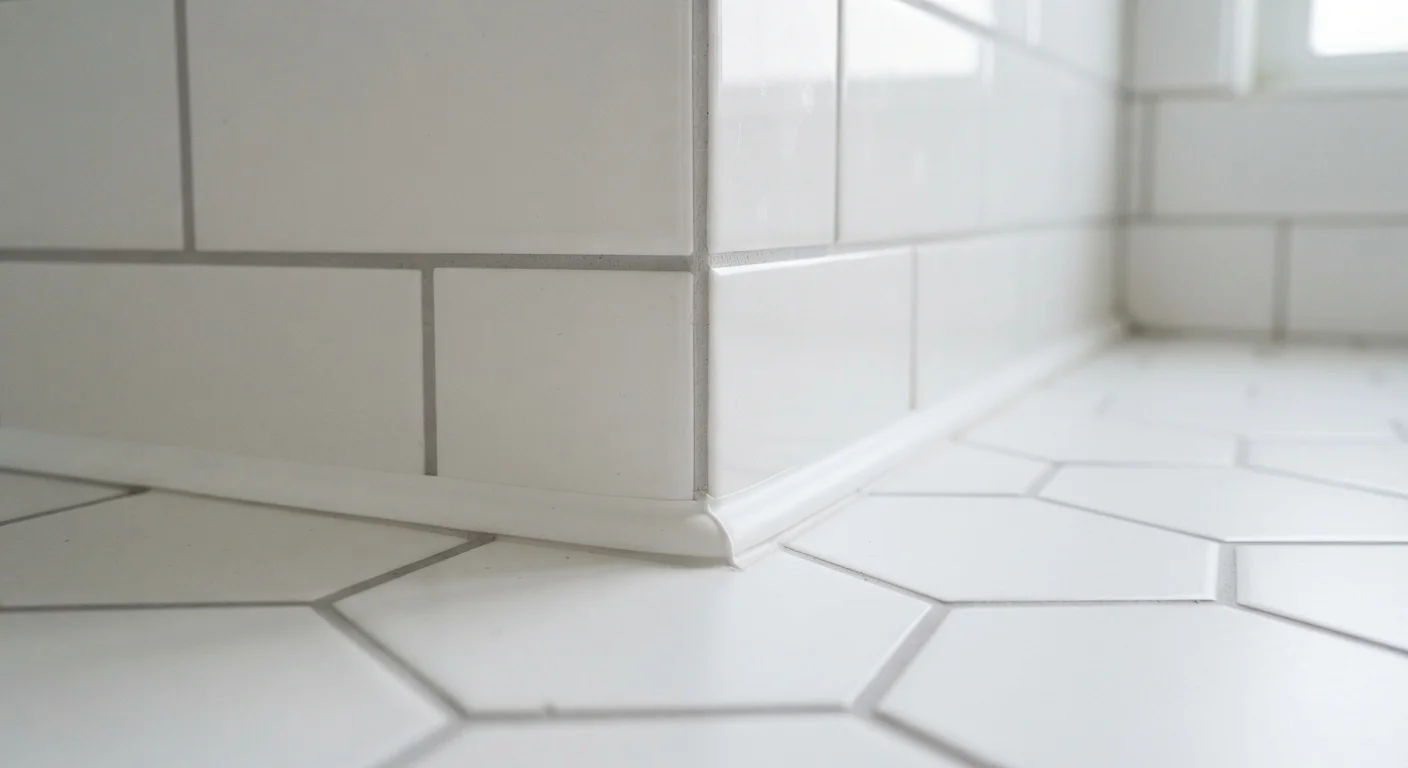
Photo: ArticleHood.com | Precision In Every Word editorial
Key Takeaways
- Grout is rigid and fills joints between tiles on the same flat plane; it cannot flex without cracking.
- Caulk is flexible and waterproof, designed for joints that experience movement or connect two different surfaces.
- Using grout in a corner or expansion joint will almost certainly result in cracking over time.
- Industry standards recommend caulk - not grout - wherever tile meets a different material or changes direction.
- Both materials require surface prep and curing time to perform correctly.
- Matching caulk color to your grout creates a seamless, professional finish.
What Each Material Is - and What It's Made For
Grout and caulk are both used in tile work, but they are entirely different products solving entirely different problems. Mixing them up is one of the most common - and costly - mistakes in DIY tile projects.
Grout is a cement-based (or occasionally epoxy-based) filler that hardens completely once it cures. It is designed to fill the narrow, uniform gaps between tiles and to create a solid, cleanable surface. Because it cures rigid, grout has no ability to flex. Any joint that moves - even a fraction of an inch - will eventually crack grout apart.
Caulk is a silicone- or latex-based sealant that remains slightly pliable after curing. That flexibility is its defining quality. It can absorb the minor seasonal movement that naturally occurs as building materials expand and contract, and it can bridge the transition between two different materials - say, ceramic tile and a porcelain tub - without failing.
| Criterion | Grout | Caulk |
|---|---|---|
| Base material | Cement or epoxy | Silicone or latex |
| Flexibility after curing | Rigid - no flex | Remains pliable |
| Best joint type | Field joints between tiles | Corners, perimeters, transitions |
| Handles movement | No - cracks under stress | Yes - absorbs movement |
| Waterproofing | Porous; needs sealer | Inherently water-resistant |
| Durability in high traffic | High - resists compression | Lower - not for field joints |
| Industry standard location | Same-plane tile-to-tile gaps | Changes of plane or material |
The Tile Council of North America (TCNA), whose installation guidelines are widely referenced by professionals, specifically calls for caulk - not grout - at all changes of plane, changes of material, and structural joints. This is a standard worth following, not a suggestion.
Where Each Belongs in a Typical Tile Installation
A clear mental map of where each product belongs will prevent the most common errors before you ever open a bucket.
Use Grout Here
- Between tiles on a flat wall field
- Between tiles on a continuous floor section
- In uniform joints where both sides of the gap are tile and on the same plane
Use Caulk Here
- All interior corners - where a tiled wall meets a tiled floor, or where two tiled walls meet
- The perimeter joint where tile meets a bathtub, shower pan, or sink
- Where tile meets a different material (wood threshold, metal strip, vinyl flooring)
- Any designated expansion joint in a large tiled area
- Around fixtures such as faucet trim rings and drain covers
Corner Joints: A Common Source of Confusion
A practical rule of thumb: if a joint changes direction or connects two different things, it gets caulk. If it's simply a gap between two tiles on the same plane, it gets grout.
What Happens When You Use the Wrong One
Applying grout in a corner or perimeter joint is a predictable path to cracked tile work. Buildings settle continuously, and seasonal temperature changes cause materials to expand and contract. A cured grout joint has nowhere to go when that movement happens - it simply cracks, often within the first year.
Once cracked, a grout joint in a wet area like a shower becomes an entry point for water. Water behind tile damages the substrate (the layer of backing board or concrete beneath the tile), can lead to mold growth, and in severe cases can require a full tear-out and re-installation.
#1
Cause of grout failure in wet areas
Water infiltration through cracked grout joints is consistently cited by tile industry professionals as the leading driver of premature tile failure in bathrooms and showers.
24-48 hrs
Minimum caulk cure time before water exposure
Most latex caulks require at least 24 hours to cure; silicone-based caulks generally need 48 hours or more depending on humidity and temperature.
Conversely, using caulk between field tiles instead of grout introduces a different set of problems. Caulk is harder to keep clean in high-traffic grouted surfaces, doesn't match grout texture, and can trap dirt along its flexible edge. It is also not structural - it won't hold up to the foot traffic and compression loads that floor grout routinely withstands.
Tips for Getting a Clean, Lasting Result
Whether you're grouting or caulking, surface preparation is everything.
For grout: ensure tiles are fully set and the adhesive (thinset mortar) has cured completely before you begin - check the thinset manufacturer's recommended wait time. Mix grout to a smooth, lump-free consistency, work it into joints at a diagonal with a grout float, and remove excess promptly with a damp sponge. Allow grout to cure before exposing it to water, and consider applying a grout sealer to cement-based grout in wet areas to resist staining.
For caulk: the joint must be clean, dry, and free of old caulk or grout residue before application. Tape both sides of the joint with painter's tape for crisp lines. Apply the caulk in a single, steady bead, then smooth it with a wet fingertip or a caulk-smoothing tool. Remove the tape while the caulk is still wet. Allow full cure time - typically 24 hours for latex caulk, 48 or more for silicone - before exposing the joint to water.
Choosing a caulk color that matches your grout gives the installation a cohesive, professional appearance. Many grout manufacturers offer matching caulk specifically for this purpose.
This article provides general home improvement guidance for informational purposes only. For complex installations or work involving structural, waterproofing, or permitted components, consult a licensed tile contractor or building professional familiar with your local codes.
The content on this site is for informational purposes only and is not a substitute for professional advice. Always consult a qualified professional for guidance specific to your situation.