
Silencing a Dripping Faucet: A Straightforward Repair for Most Homeowners

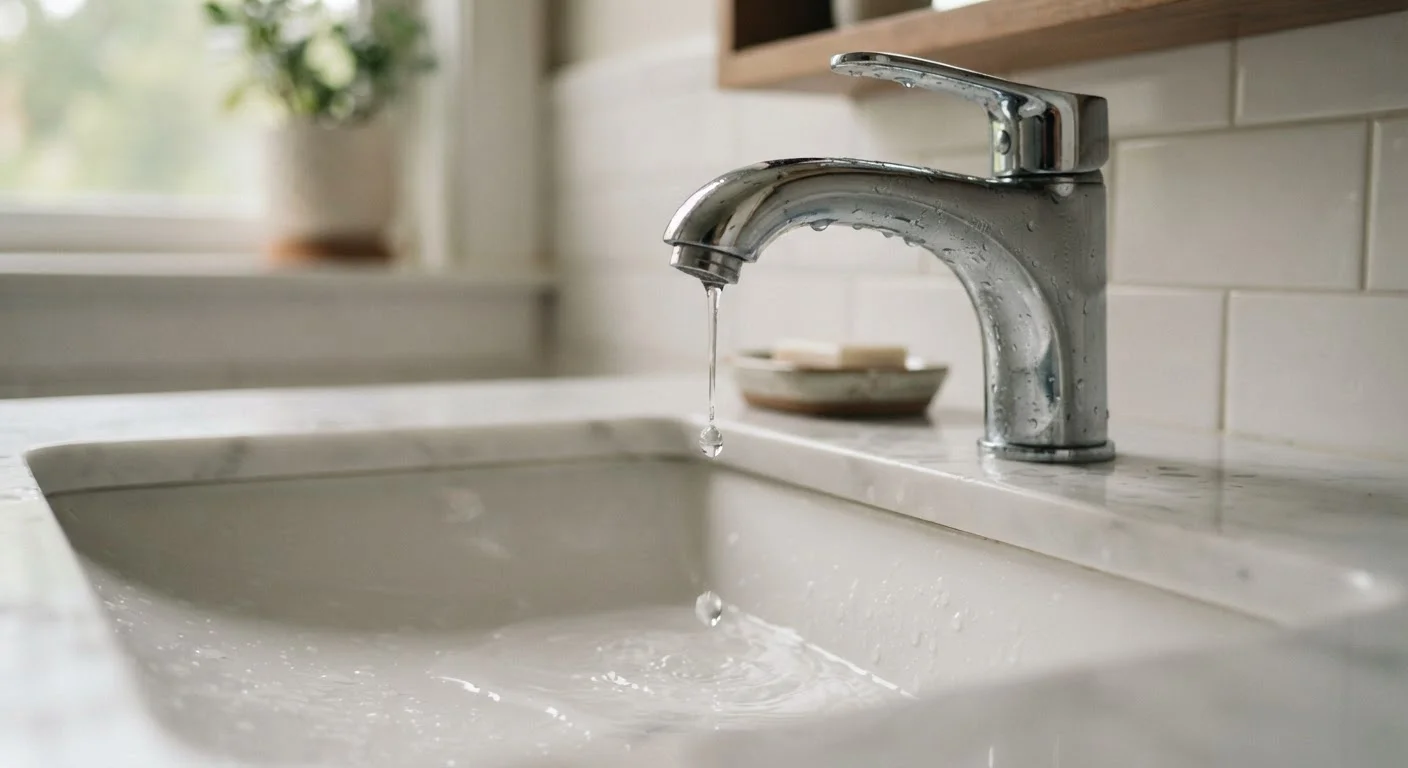
Photo: ArticleHood.com | Precision In Every Word editorial
Key Takeaways
- Most dripping faucets are caused by a worn washer, O-ring, or cartridge - all relatively inexpensive parts.
- Turning off the water supply before disassembling any faucet is essential to avoid flooding.
- Identifying your faucet type (compression, ball, cartridge, or ceramic disc) determines which parts to replace.
- A dripping faucet can waste thousands of gallons of water per year if left unrepaired.
- Persistent leaks, visible corrosion, or water pressure issues are signs to call a licensed plumber.
Why a Dripping Faucet Deserves Prompt Attention
A single faucet dripping once per second can waste more than 3,000 gallons of water over the course of a year, according to the U.S. Environmental Protection Agency's WaterSense program. Beyond the environmental cost, that wasted water shows up on your utility bill every month. Unlike problems you can safely defer, a drip that starts small often worsens as the underlying washer or seal continues to deteriorate under pressure.
The good news: the repair is well within reach for most homeowners. The vast majority of dripping faucets trace back to a worn rubber washer, a degraded O-ring, or a tired cartridge - parts that cost only a few dollars and require no specialized plumbing knowledge to swap out. What the job does require is patience, the right replacement part, and a clear sequence of steps.
What you will need
What You Will Need
Gather your tools and materials before you begin. Having everything within arm's reach prevents mid-repair scrambles and reduces the time the water supply is shut off.
Adjustable wrench
Loosens and tightens packing nuts and supply line connections on the faucet.
Phillips and flathead screwdrivers
Removes handle screws and pries off decorative caps concealing fasteners.
Needle-nose pliers
Grips and removes small internal components like retaining clips or cartridge springs.
Replacement washers, O-rings, or cartridge
The core repair part that stops the drip once the worn component is swapped out.
Plumber's grease (silicone-based)
Lubricates rubber washers and O-rings during reassembly to extend their lifespan.
Bucket or towels
Catches residual water that drains out when the faucet is opened after shutoff.
Flashlight or headlamp
Illuminates the cabinet interior under the sink for easier access to shutoff valves.
Bring the Old Parts to the Hardware Store
Step-by-Step Repair Instructions
Follow these steps in order. If you are unfamiliar with your faucet type, complete Step 1 before gathering replacement parts - the components you need depend entirely on the design of your specific fixture.
Turn Off Water Before You Begin
Identify your faucet type
Before purchasing any parts, determine which of the four common faucet designs you have:
- Compression - Two separate handles; uses a rubber washer pressed against a seat to stop water flow. The most common type in older homes.
- Ball - Single handle that rotates over a rounded ball-shaped cap. Common in kitchens.
- Cartridge - Single or double handle; uses a cartridge sleeve to control flow. Very common in modern fixtures.
- Ceramic disc - Single lever over a wide cylindrical body; uses ceramic discs that rarely wear out but can crack.
The repair steps differ by type, but all share the same core sequence: shut off, disassemble, replace the worn part, and reassemble.
Shut off the water supply and relieve pressure
Locate the shutoff valves beneath the sink - typically one for hot and one for cold. Turn each valve clockwise until it stops. If your sink has no under-sink valves, shut off the home's main water supply instead.
Once the valves are closed, open the faucet fully to drain any water still sitting in the line. Place a bucket or old towels under the work area to catch residual drips.
Remove the handle and expose the internal mechanism
Pry off any decorative cap on top of the handle using a flathead screwdriver - this usually reveals a screw beneath. Remove that screw and lift the handle straight off. If it resists, gently wiggle it side to side rather than yanking.
Beneath the handle you will find either a packing nut (compression faucets), a ball assembly, a cartridge, or a ceramic disc cylinder. Use your adjustable wrench to unscrew the packing nut or retaining nut holding the internal component in place, then carefully lift it out.
Inspect and replace the worn component
Examine the part you removed:
- Compression faucet: Look at the rubber washer at the bottom of the stem. If it is flattened, cracked, or grooved, unscrew it and press in an exact-size replacement.
- Ball faucet: Inspect the rubber seats, springs, and O-rings in the faucet body. Replace the entire kit - these are typically sold together.
- Cartridge faucet: Pull the cartridge straight out (needle-nose pliers help here) and insert a new one in the same orientation.
- Ceramic disc: Remove the cylinder and clean the discs with white vinegar and a soft cloth. Replace only if a disc is visibly cracked.
Before installing new rubber parts, apply a thin coat of silicone-based plumber's grease to help them seat correctly and last longer.
Reassemble the faucet and test
Reverse the disassembly steps: reinstall the internal component, thread the packing or retaining nut back on by hand first, then snug it with the wrench - firm but not overtightened, which can crack plastic parts or distort seals. Reattach the handle, replace the decorative cap, and turn the supply valves back on slowly.
Let the water run for a minute and watch the spout carefully. A successful repair means no dripping when the handle is in the off position. Check the base of the faucet and the supply connections under the sink for any new wetness before calling the job complete.
Troubleshooting and When to Call a Plumber
If the faucet still drips after you have replaced the washer or cartridge, the valve seat - the surface the washer presses against inside the faucet body - may be pitted or corroded. A seat wrench can resurface minor damage, but significant corrosion usually means the faucet body itself needs to be replaced. This is also true if threads are stripped or if the leak appears at the base of the faucet rather than the spout, which signals a failing O-ring deep in the body.
Know When to Stop and Call a Pro
Persistent low water pressure, discolored water, or a leak that migrates to nearby pipes are all signals that the problem extends beyond the faucet. In those cases, a licensed plumber can diagnose the broader system. Addressing these issues promptly prevents the kind of compounding damage that turns a minor repair into a major renovation.
The content on this site is for informational purposes only and is not a substitute for professional advice. Always consult a qualified professional for guidance specific to your situation.