
DIY Oil Change: A Realistic Look at the Process, Tools, and Considerations

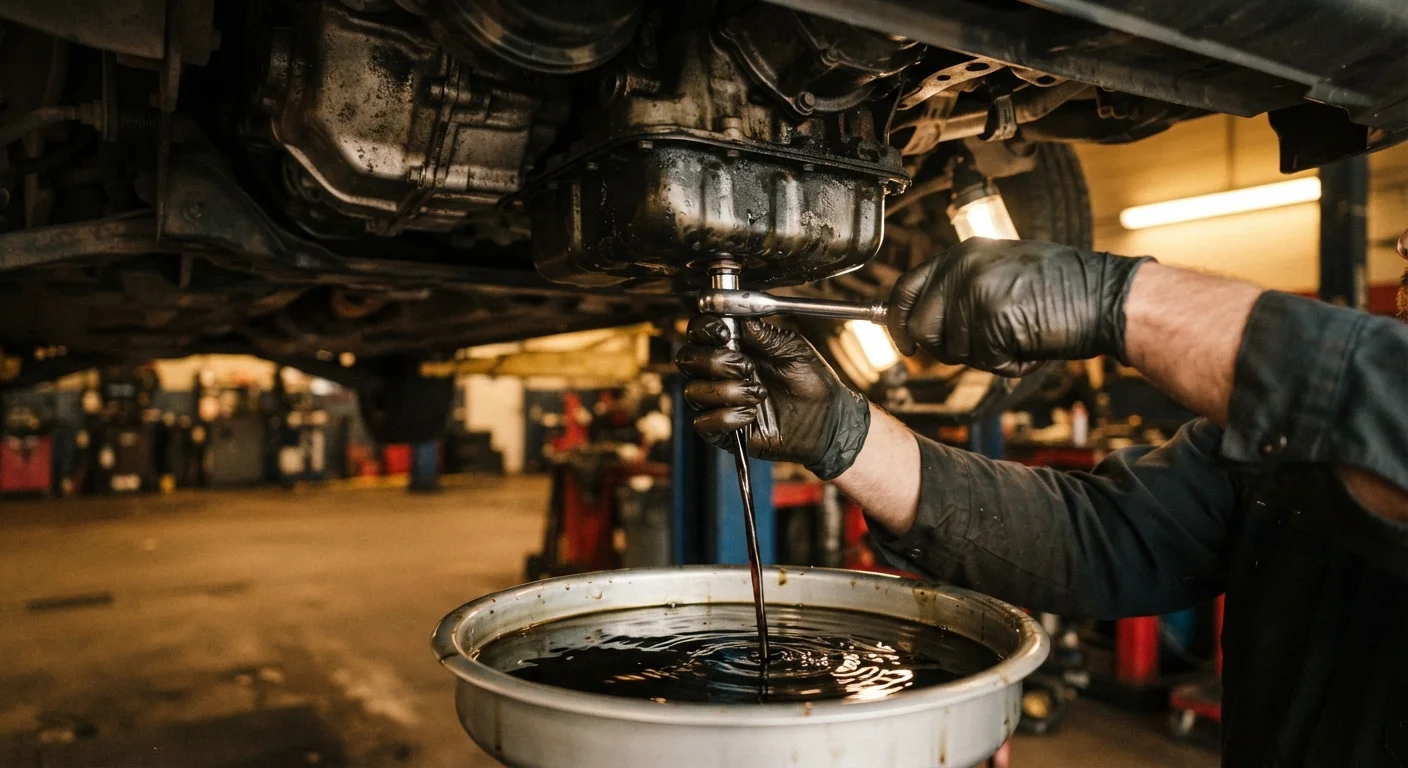
Photo: ArticleHood.com | Precision In Every Word editorial
Key Takeaways
- A DIY oil change requires specific tools, correct oil type, and a safe way to raise your vehicle.
- Always consult your owner's manual for the correct oil specification and service interval.
- Used motor oil is hazardous waste and must be taken to an approved recycling drop-off site.
- Skipping proper torque on the drain plug or filter can cause serious oil leaks.
- Some vehicle layouts make DIY changes impractical - knowing when to stop is part of the skill.
Is a DIY Oil Change Right for You?
An oil change is one of the most frequently cited examples of approachable DIY maintenance - and for many drivers, it genuinely is. But it's worth being honest about what the job involves before committing to it. You'll need to safely raise your vehicle, work in confined space underneath it, handle hot and dirty oil, and dispose of a hazardous material correctly. None of these steps is inherently difficult, but each has a consequence if done poorly.
If this is your first time, review our guide to car maintenance for first-time owners before starting, so you're familiar with basic service concepts. Also take a moment to read about common engine oil myths - some widely shared assumptions about oil change intervals and oil condition simply aren't accurate.
Floor jack and jack stands (or drive-up ramps)
Safely raises and supports the vehicle so you can work underneath it.
Drain pan (at least 2-gallon capacity)
Catches used oil as it drains from the engine.
Oil filter wrench
Provides grip to remove a tightly seated spin-on or cartridge oil filter.
Socket set and ratchet
Used to loosen and re-torque the drain plug to specification.
Torque wrench
Ensures the drain plug is tightened to the manufacturer's specified torque, preventing leaks or stripped threads.
Nitrile gloves and safety glasses
Protects skin and eyes from hot oil and splashes during the drain.
Funnel
Helps pour fresh oil into the fill cap without spills.
Sealable container for used oil transport
Transfers used oil safely to a recycling facility without spilling.
Before You Start: What You Need
Gathering everything in advance avoids the situation of being mid-drain with nothing to catch the oil or no replacement filter on hand. Your owner's manual is the non-negotiable starting point - it specifies the exact oil viscosity, capacity, and the correct service interval for your driving conditions.
What you will need
Never Work Under an Unsupported Vehicle
Step-by-Step: Performing the Oil Change
Work through each step in order. Skipping ahead - for example, adding new oil before re-installing the drain plug - is the kind of mistake that causes expensive engine damage. Take your time, especially on the first attempt.
Confirm the correct oil and quantity
Before buying anything, open your owner's manual and locate the oil specification section. It will state the viscosity grade (e.g., 5W-30) and the total capacity in quarts. Do not rely on what was used last time without checking - the manual is the authoritative source. If you want to understand the trade-offs between oil types, see our guide to synthetic vs. conventional motor oil.
Warm the engine briefly, then shut it off
Run the engine for two to three minutes. Slightly warm oil drains faster and more completely than cold oil. Do not attempt this on a fully hot engine - oil and the exhaust system can cause serious burns. Once you shut the engine off, wait at least five minutes before going underneath.
Raise and support the vehicle safely
Consult your owner's manual for the correct jack points - lifting at the wrong spot can damage the vehicle's underbody or cause a dangerous collapse. Place jack stands at the designated support points before sliding underneath. Chock the rear wheels if using ramps at the front.
Drain the old oil
Position your drain pan under the drain plug, which is typically on the lowest point of the oil pan. Use the correct socket size to loosen the plug counter-clockwise. As it comes free, keep your hand and arm clear - oil will flow immediately. Allow the engine to drain for at least five minutes or until dripping slows to a trickle.
Remove and replace the oil filter
Locate the filter - it may be a spin-on canister on the engine block or a cartridge inside a housing, depending on your vehicle. Use an oil filter wrench for removal; expect residual oil to spill. Before installing the new filter, lightly coat the rubber gasket with fresh oil. Hand-tighten a spin-on filter an additional three-quarter turn after the gasket contacts the seating surface - check your filter's instructions, as cartridge filters vary.
Reinstall the drain plug
Thread the drain plug back in by hand first to avoid cross-threading. Finish with a torque wrench set to the manufacturer's specification - this figure is typically in your owner's manual or available from a reputable repair database. Do not simply crank it tight by feel.
Add fresh oil and check for leaks
Lower the vehicle to level ground. Remove the oil fill cap on top of the engine, insert a funnel, and pour in the quantity specified in your manual. Replace the cap, start the engine, and let it run for about 30 seconds. Check the area around the drain plug and filter for any drips. Shut off the engine, wait two minutes for oil to settle, then check the dipstick - add small amounts as needed to reach the correct level.
Dispose of used oil responsibly
Pour the used oil from your drain pan into a sealed container. Most auto parts retailers and many municipal recycling centers accept used motor oil at no charge. Do not pour it down a drain, into trash, or onto the ground - this is illegal in all US states and seriously harmful to the environment.
Know When to Call a Professional
After the Change: Monitoring and Disposal
A successful oil change doesn't end when the hood closes. Over the next few days, check underneath your vehicle for any small drips that indicate a weeping drain plug or filter gasket. Check the oil level again after your first short drive once the oil has fully circulated and settled.
For ongoing fluid health, our guide to checking your car's fluids without a mechanic covers how to monitor engine oil, coolant, and brake fluid between service intervals. Keeping an eye on these regularly is a simple habit that can catch problems early.
Used Motor Oil Is Hazardous Waste
The content on this site is for informational purposes only and is not a substitute for professional advice. Always consult a qualified professional for guidance specific to your situation.