
Checking Your Car's Fluids Without a Mechanic

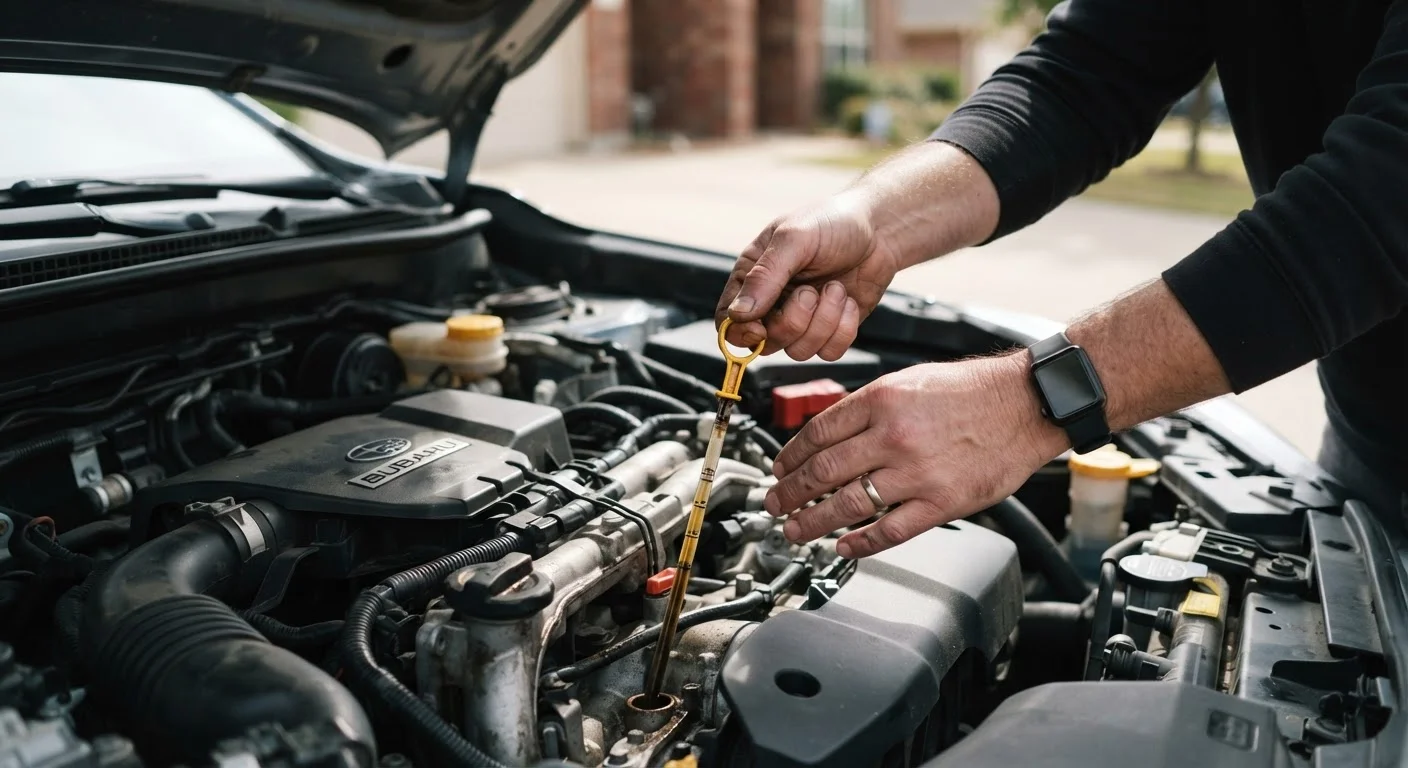
Photo: ArticleHood.com | Precision In Every Word editorial
Key Takeaways
- Checking five key fluids takes about 15 minutes and requires no special tools.
- Always check fluids when the engine is cool and the car is parked on level ground.
- Low or discolored fluid often signals a problem worth investigating before it worsens.
- Your owner's manual is the authoritative source for correct fluid types and intervals.
- Brake fluid and coolant checks involve safety-critical systems - handle with care.
Why Checking Your Own Fluids Makes Sense
Fluid levels are among the easiest things to monitor on any vehicle, yet many drivers only discover a problem when a warning light appears - or when something goes wrong on the road. A quick visual inspection every month (or before any long trip) can catch issues early, before they become expensive repairs.
This is also one of the clearest examples of a maintenance task that genuinely belongs in the DIY column. As our guide on which maintenance tasks suit a DIYer explains, fluid checks carry minimal risk when done correctly - and build the kind of baseline knowledge that makes you a more confident vehicle owner overall.
If you're new to car ownership, this walkthrough pairs well with our beginner's maintenance guide, which covers the broader picture of service schedules and owner's manual basics.
What you will need
The Five Fluids to Check - and How
Work through these checks in order, with the engine cold and the vehicle on level ground. Checking on a slope skews readings; checking on a hot engine creates a burn risk, especially around the cooling system.
Check the Engine Oil
Locate the oil dipstick - usually a brightly colored handle near the engine center. Pull it out, wipe it clean with your rag, reinsert it fully, then pull it out again. The oil level should fall between the two marks (often labeled MIN and MAX). Also note the color: healthy oil ranges from amber to light brown. Black, gritty oil is overdue for a change.
Check the Coolant (Antifreeze)
Find the coolant reservoir - a translucent plastic tank, usually connected to the radiator by a hose. Do not open the radiator cap on a warm engine; the system is pressurized and can release scalding fluid. On a cold engine, simply check the level against the MIN and MAX markings on the side of the reservoir. Coolant is typically green, orange, or pink depending on the type your vehicle uses.
Check the Brake Fluid
The brake fluid reservoir sits on top of the master cylinder, typically on the driver's side of the engine bay. It's a small, semi-transparent plastic container with a twist-off cap. Check the level against the MIN/MAX markings without opening it if possible. The fluid should appear clear to light yellow. Dark or murky brake fluid often indicates it has absorbed moisture and may need replacing - consult a mechanic if you're unsure.
Check the Power Steering Fluid
Not all vehicles have traditional power steering fluid - many newer cars use electric power steering and have no fluid to check. If your vehicle does have a reservoir (check the owner's manual), it works like the others: find the dipstick or level markings, check the level, and note the color. The fluid should be clear to light pink; dark or foamy fluid can indicate a problem.
Check the Windshield Washer Fluid
This is the one fluid with no real safety threshold - running low won't damage your car - but an empty reservoir is a visibility hazard in bad weather. The reservoir is usually clearly labeled with a windshield symbol. Check the level visually and top up with premixed washer fluid if needed. Plain water is a temporary fix in a pinch but can freeze in cold temperatures and may leave mineral deposits over time.
Make It a Monthly Habit
Once you're comfortable with this routine, build it into your pre-trip habit. Our pre-trip vehicle check walkthrough covers fluids alongside tires, lights, and other essentials worth confirming before you set off.
When a Fluid Check Points to a Bigger Problem
Most of the time, low fluid simply means topping up. But certain findings deserve a closer look:
- Oil that's milky or foamy can indicate coolant mixing with engine oil - a serious issue that warrants a mechanic visit.
- Coolant that needs frequent topping suggests a leak somewhere in the system; it shouldn't be disappearing on its own.
- Brake fluid that drops noticeably between checks may signal a leak or worn brake pads - both safety concerns.
- Dark brown or black transmission fluid with a burnt smell often means the fluid is overdue for a service.
If you're planning a longer road trip, run through these checks as part of the pre-long-journey vehicle checklist so small oversights don't turn into roadside problems.
Know When to Stop and Call a Pro
The content on this site is for informational purposes only and is not a substitute for professional advice. Always consult a qualified professional for guidance specific to your situation.