
Your Pre-Trip Vehicle Check: What to Inspect Before Every Journey

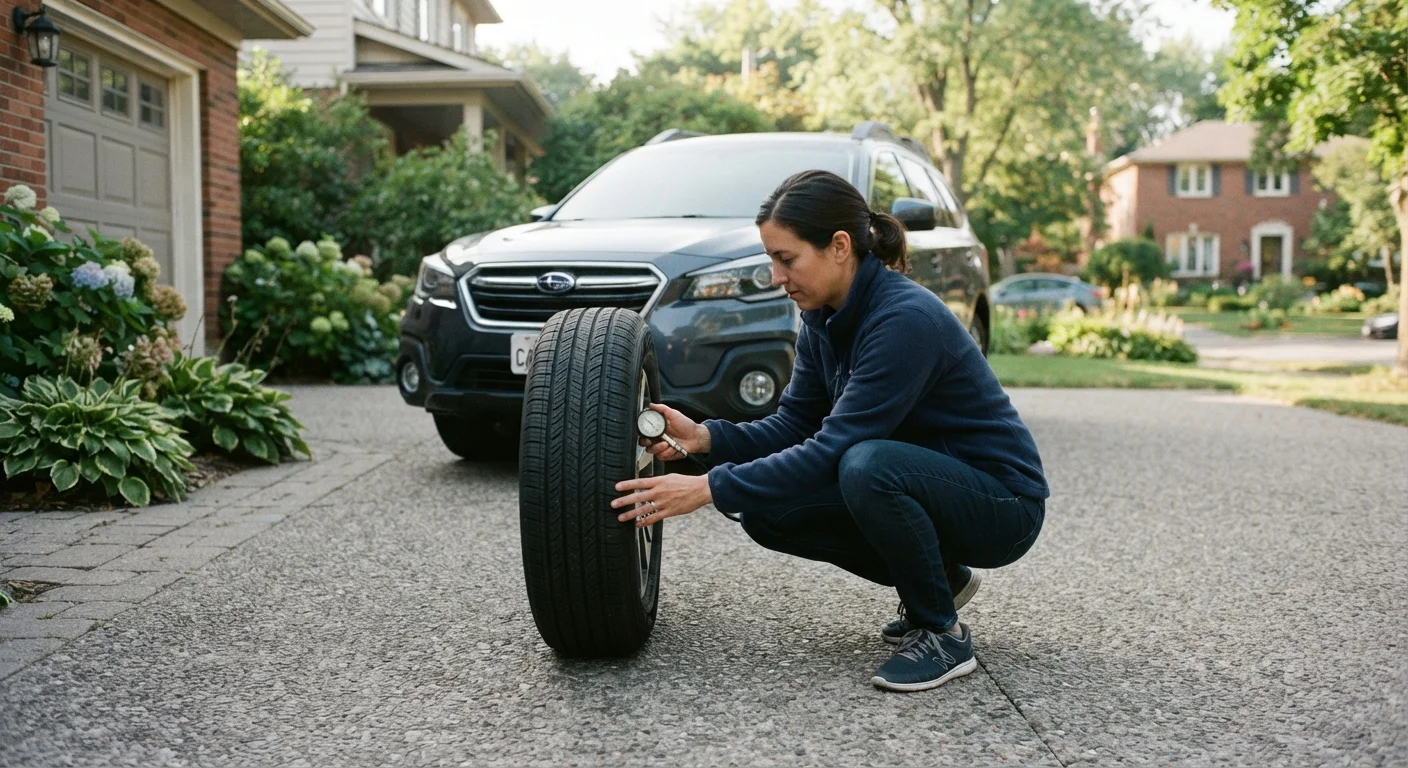
Photo: ArticleHood.com | Precision In Every Word editorial
Key Takeaways
- Most pre-trip checks take under 10 minutes and require no tools or mechanical knowledge.
- Tyres, lights, mirrors, and fluid levels are the four areas that matter most before every drive.
- Catching a problem in the driveway is far less disruptive - and safer - than discovering it at speed.
- Dashboard warning lights should always be investigated before you set off, not ignored.
- A consistent routine builds the habit quickly, so it becomes second nature within a few weeks.
Why a Quick Check Before Every Trip Is Worth It
Most roadside breakdowns and a significant share of preventable accidents share a common thread: something was already wrong with the vehicle before it left the driveway. A soft tyre, a cracked wiper blade, a fluid that had dropped below minimum - these aren't surprises that happen on the road. They develop quietly at home.
This checklist is designed for everyday drivers, not mechanics. You don't need specialist tools or technical know-how to work through it. What you do need is about five to fifteen minutes and the habit of actually looking. If you're newer to vehicle ownership, the Car Maintenance from Scratch guide is a good place to build broader context around what these checks involve and why they matter.
For longer trips, consider pairing this routine with the Pre-Long-Journey Vehicle Check, which goes deeper on items like spare tyre condition, battery health, and emergency kit readiness.
Tyres
Fluid Levels
Lights and Visibility
Dashboard and Controls
Quick Exterior Walkaround
Tools You May Find Useful
Most of these checks are visual and require nothing more than your eyes. A few benefit from basic, inexpensive tools that are worth keeping in the car or garage.
Tyre pressure gauge
Accurately measures tyre inflation so you can match the vehicle manufacturer's recommended PSI.
Tread depth gauge
Provides a precise measurement of remaining tread depth, more reliable than the coin or wear-indicator test alone.
Small torch or flashlight
Useful for inspecting tyre sidewalls, checking under the hood, and testing whether reverse lights are illuminated.
Microfibre cloth
Wipes down mirrors, windows, and sensor lenses quickly without scratching.
Owner's manual
Contains the manufacturer's specified tyre pressure, fluid types, and service intervals for your exact vehicle.
Dashboard Warnings and Fluid Levels
A Warning Light On Means Stop and Investigate
Before you move the car, give the dashboard 30 seconds after the ignition turns on. Most warning lights will briefly illuminate and then go off - that's normal self-test behaviour. Any light that stays on after that deserves attention. For a plain-language breakdown of what each symbol means, see What Every Warning Light on Your Dashboard Is Telling You.
Fluid levels are equally important and easy to overlook because they don't trigger a warning light until the problem is already serious. Our guide to checking your car's fluids without a mechanic walks through each reservoir - engine oil, coolant, brake fluid, windshield washer fluid - with clear instructions you can follow in your own driveway.
Visibility, Mirrors, and Lighting
Don't Adjust Mirrors While Moving
Clear visibility is non-negotiable. Adjust your seat, steering wheel, and all mirrors before you pull away - not at a red light. Your side mirrors should eliminate as much blind-spot overlap with your rear-view mirror as possible. For a detailed breakdown of where blind spots occur and how to minimise them, see Blind Spots, Mirrors, and the Gaps Your Eyes Miss Every Time.
Walk around the car and confirm all exterior lights work - headlights, brake lights, indicators, and reverse lights. A working brake light is something other drivers depend on, and it's easy to lose one without noticing. Wiper blades should clear cleanly without streaking; replace them if they skip or smear.
Finally, remember that a vehicle check covers the machine, not the driver. If you're fatigued, impaired, or distracted, the car being roadworthy doesn't make the journey safe. Fatigue Behind the Wheel covers the warning signs worth knowing before any drive.
The content on this site is for informational purposes only and is not a substitute for professional advice. Always consult a qualified professional for guidance specific to your situation.