
What Every Warning Light on Your Dashboard Is Telling You

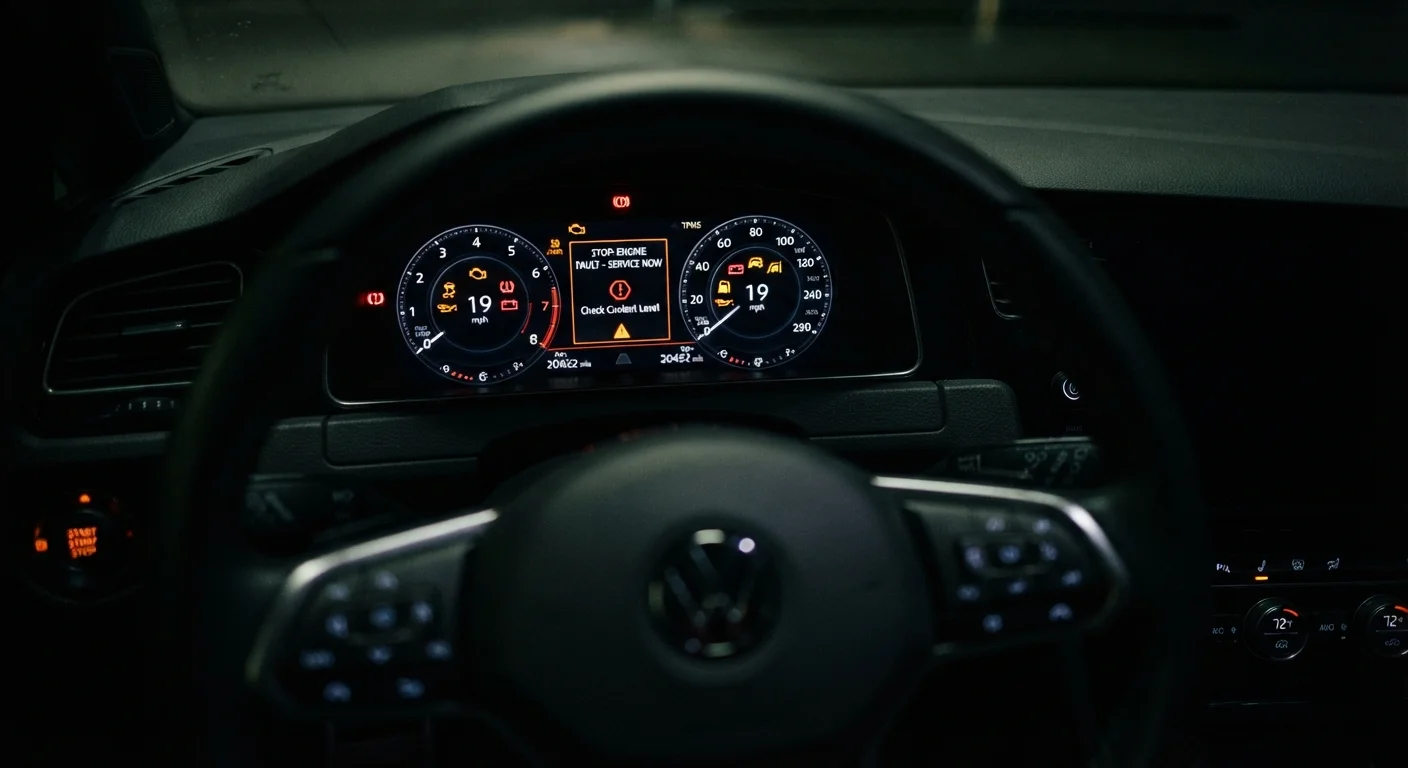
Photo: ArticleHood.com | Precision In Every Word editorial
Why Dashboard Warning Lights Exist
Modern vehicles are equipped with an OBD system that continuously monitors dozens of sensors throughout the engine, transmission, emissions system, and safety components. When something falls outside normal operating parameters, the system triggers a warning light on your instrument cluster. Think of these lights as your car's way of flagging a concern - some urgent, some routine.
Ignoring a warning light rarely makes the underlying issue go away. In many cases, a small problem left unaddressed becomes an expensive repair. That's why understanding what each symbol means - and how urgently it demands action - is one of the most practical things a driver can know. See our car maintenance schedule guide for context on how routine upkeep relates to preventing many of these alerts.
| Color coding - red lights | Require immediate action; risk of damage or safety hazard |
| Color coding - amber/yellow lights | Service needed soon; safe to drive short distances |
| Color coding - blue/green lights | Informational status indicators; no fault present |
| Check engine light - flashing vs. steady | Flashing = stop driving now; steady = schedule service |
| Tire pressure spec location | Driver's door jamb sticker (not the tire sidewall) |
| Best reference for your specific lights | Your vehicle's owner's manual |
Red Lights: Stop and Act Now
Red warning lights signal conditions that can cause immediate engine damage, create a safety hazard, or both. If a red light appears while driving, find a safe place to pull over as soon as possible.
- Engine Temperature (thermometer icon): The engine is overheating. Pull over, turn off the engine, and do not open the radiator cap until the engine cools. Continuing to drive risks serious engine damage.
- Oil Pressure (oil can icon): Oil pressure has dropped dangerously low. Stop driving immediately. Low oil pressure can destroy an engine within minutes. Check the oil level once parked safely.
- Battery (battery icon): The charging system is failing. The vehicle is running on battery power alone and may stall soon. Reduce electrical load and head to a workshop.
- Brake Warning (exclamation mark in circle): This can indicate the parking brake is engaged, low brake fluid, or a brake system fault. If the parking brake is off and the light remains on, treat it as urgent. Our guide on brake wear warning signs covers what different brake symptoms mean.
When in Doubt, Use Your Owner's Manual
Amber and Yellow Lights: Attention Needed Soon
Amber or yellow lights generally mean the vehicle is still safe to drive for now, but the issue should be investigated within a day or two - not ignored for weeks.
OBD (On-Board Diagnostics)
A standardized system built into vehicles that monitors engine and emissions components in real time. When a sensor detects a fault, OBD stores a diagnostic trouble code and triggers the relevant warning light.
Malfunction Indicator Lamp (MIL)
The formal name for the check engine light. It illuminates when the OBD system detects an emissions- or engine-related fault that exceeds acceptable thresholds.
TPMS
Tire Pressure Monitoring System. A sensor-based system that alerts the driver when tire pressure drops more than 25% below the recommended level for the vehicle.
Charging System
The combination of the alternator, battery, and connecting wiring that keeps a vehicle's electrical systems powered while the engine runs. A fault here is flagged by the battery warning light.
- Check Engine (engine outline icon): One of the most misunderstood lights. It can signal anything from a loose gas cap to a misfiring cylinder. A steady light means get it checked soon; a flashing light means stop driving and get immediate service.
- Tire Pressure TPMS (flat tire icon): One or more tires is significantly under- or over-inflated. Check pressures and inflate to the specification listed on your door jamb sticker, not the number on the tire sidewall.
- Traction Control / Stability Control: If this flashes during acceleration on slippery roads, it's working normally. If it stays on, the system may be disabled or malfunctioning.
- Transmission Temperature: The transmission fluid is overheating, often from towing, hilly driving, or low fluid. Ease off the load and have fluid checked.
Before any long drive, a systematic walk-around helps you catch problems before they trigger a light. The pre-trip vehicle check covers exactly what to look for.
Blue and Green Lights: Status Indicators
Not every dashboard light signals a problem. Blue and green lights are typically informational - they confirm a system is active, not that something is wrong.
- High Beams (blue beam icon): High beams are on. Remember to switch to low beams when oncoming traffic approaches.
- Turn Signals (green arrow): Standard indicator that a turn signal is operating. A rapid flash usually means a bulb has burned out.
- Cruise Control (green speedometer): Cruise control is active and holding your set speed.
- Door Ajar / Seatbelt (red or amber): A door isn't fully closed or a seatbelt isn't buckled. These should be resolved before moving.
Understanding the full spectrum of dashboard signals fits naturally into broader safe driving habits. The complete road safety guide covers vehicle awareness alongside defensive driving techniques.
This article is for general informational purposes only. For diagnosis of specific warning lights, consult a qualified mechanic or refer to your vehicle's owner's manual.
The content on this site is for informational purposes only and is not a substitute for professional advice. Always consult a qualified professional for guidance specific to your situation.