
Planning a Bathroom Renovation: A Room-by-Room Walkthrough

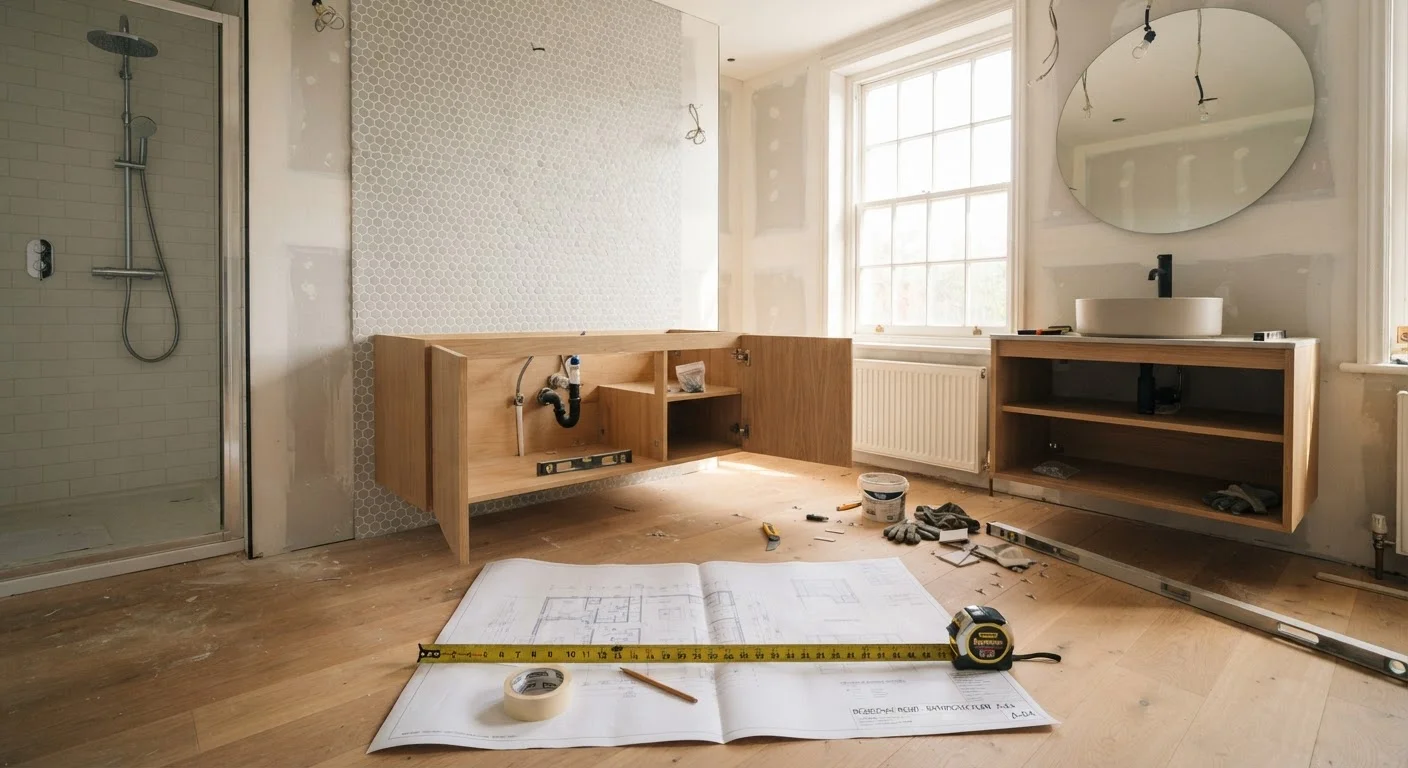
Photo: ArticleHood.com | Precision In Every Word editorial
Key Takeaways
- A thorough pre-renovation assessment prevents costly surprises once walls are open.
- Plumbing and electrical work almost always require licensed contractors and permits.
- Moving fixtures significantly increases project cost and complexity.
- Budget a contingency of at least 15-20% for unexpected issues.
- Material durability and moisture resistance matter more in bathrooms than aesthetics alone.
Start With a Honest Assessment
Before ordering a single tile, walk your bathroom with fresh eyes. Note what genuinely does not work - inadequate storage, poor ventilation, a leaking faucet - versus what is simply dated in appearance. These are different problems requiring different solutions, and conflating them is one of the most common reasons bathroom renovations balloon beyond their original scope.
Check for signs of moisture damage: soft spots in the subfloor near the toilet or tub, bubbling paint, or grout that crumbles when pressed. Hidden water damage discovered mid-project can add substantial time and expense. The earlier you find it, the more control you have over costs. If you are newer to home ownership, the beginner's guide to home improvement offers useful context on how to prioritize repairs versus cosmetic upgrades.
Photograph Everything Before Demo
Layout Decisions and Structural Realities
Changing the footprint of a bathroom - moving the toilet, relocating the shower, or expanding into adjacent space - is appealing but carries real consequences. Plumbing drain lines have specific slope requirements and are often embedded in the subfloor or concrete slab. Moving them requires a licensed plumber and can require breaking through flooring or walls.
If your renovation involves removing or altering a wall, you must determine whether it is load-bearing before touching it. Removing a load-bearing wall without proper structural support can compromise your home's integrity. Our article Load-Bearing Walls Explained covers how to identify structural walls and why professional assessment is essential.
In many bathroom renovations, the smarter choice is to keep fixtures in their existing locations and invest savings into better materials and finishes. This approach dramatically reduces labor costs and project risk.
Moving Fixtures Multiplies Costs
Permits, Codes, and Licensed Trades
Most jurisdictions in the U.S. require permits for bathroom work that involves plumbing changes, electrical upgrades, or structural modifications. Skipping permits is risky: unpermitted work may need to be torn out and redone, can create complications when you sell the home, and may affect your homeowner's insurance coverage in the event of a related incident.
As a general rule, any work involving the main drain lines, new electrical circuits, or changes to ventilation should be handled by licensed professionals. A licensed electrician is typically required when adding GFCI (ground-fault circuit interrupter) outlets near water sources - a code requirement in bathrooms nationwide. Always verify the specific permit requirements with your local building department before work begins, as rules vary by municipality.
Verify Local Requirements Before Starting
Setting a Realistic Budget
Bathroom renovation costs vary widely depending on scope, location, and the age of your home. Cosmetic refreshes - new paint, fixtures, and accessories - cost far less than full gut renovations involving new plumbing and tile. Whatever your scope, build in a contingency of at least 15-20% of the total budget. When walls open, discoveries like outdated wiring, corroded pipes, or mold remediation needs are common.
15-20%
Recommended renovation contingency budget
Industry guidance consistently recommends reserving this percentage above your base estimate to cover unexpected discoveries once work begins.
3-6 weeks
Typical timeline for a full bathroom gut renovation
General contractor estimates suggest this range for complete renovations; simpler cosmetic projects typically run one to two weeks.
Prioritize spending on items that affect function and durability: subfloor waterproofing, quality cement backer board behind tile, and a properly sized exhaust fan. These unglamorous line items prevent costly problems years later. Decorative elements like mirrors, towel bars, and paint color are the easiest places to adjust spending if costs run high elsewhere.
Choosing Materials and Fixtures
Bathrooms are high-humidity environments, and material choices must reflect that reality. Porcelain and ceramic tiles are widely used for floors and walls because they resist moisture, clean easily, and hold up to daily use. Natural stone is an option but requires sealing and more maintenance. For flooring specifically, prioritize slip resistance - check the COF (coefficient of friction) rating when evaluating tile options; a rating of 0.42 or higher is the standard threshold for wet areas.
For cabinetry, solid wood and plywood constructions with moisture-resistant finishes outperform particleboard in humid conditions. Choose fixtures - faucets, showerheads, and hardware - with solid brass or stainless steel internals rather than plastic, which degrades faster under temperature fluctuations.
Once your renovation is complete and the space is functional, a room-by-room décor audit can help you make intentional choices about accessories and styling without overspending.
When selecting grout, choose an epoxy or high-quality polymer-modified grout for shower floors and walls - it resists staining and mold far better than standard sanded grout.
Size your exhaust fan for the actual cubic footage of the room, not the minimum code requirement. Aim for a fan rated to exchange the air at least eight times per hour.
Managing the Renovation Process
If you are hiring contractors, obtain at least three written quotes and verify that each contractor carries liability insurance and is licensed in your state. Ask for a written scope of work, a payment schedule tied to milestones rather than upfront lump sums, and a realistic timeline. A bathroom renovation affecting just one fixture location might take one to two weeks; a full gut renovation commonly runs three to six weeks, depending on complexity and contractor availability.
Plan for the bathroom to be completely out of service during active work. If it is your only bathroom, coordinate a temporary arrangement before demolition begins. Keep a dedicated project folder - physical or digital - with contracts, receipts, permit documents, and product warranty cards. This record becomes valuable both during the project and when you eventually sell the home.
For ongoing home maintenance after your renovation wraps up, the guide to managing your home's daily systems offers practical routines to protect your investment long term.
The content on this site is for informational purposes only and is not a substitute for professional advice. Always consult a qualified professional for guidance specific to your situation.