
Knife Skills Every Home Cook Should Know Before Picking Up a Blade

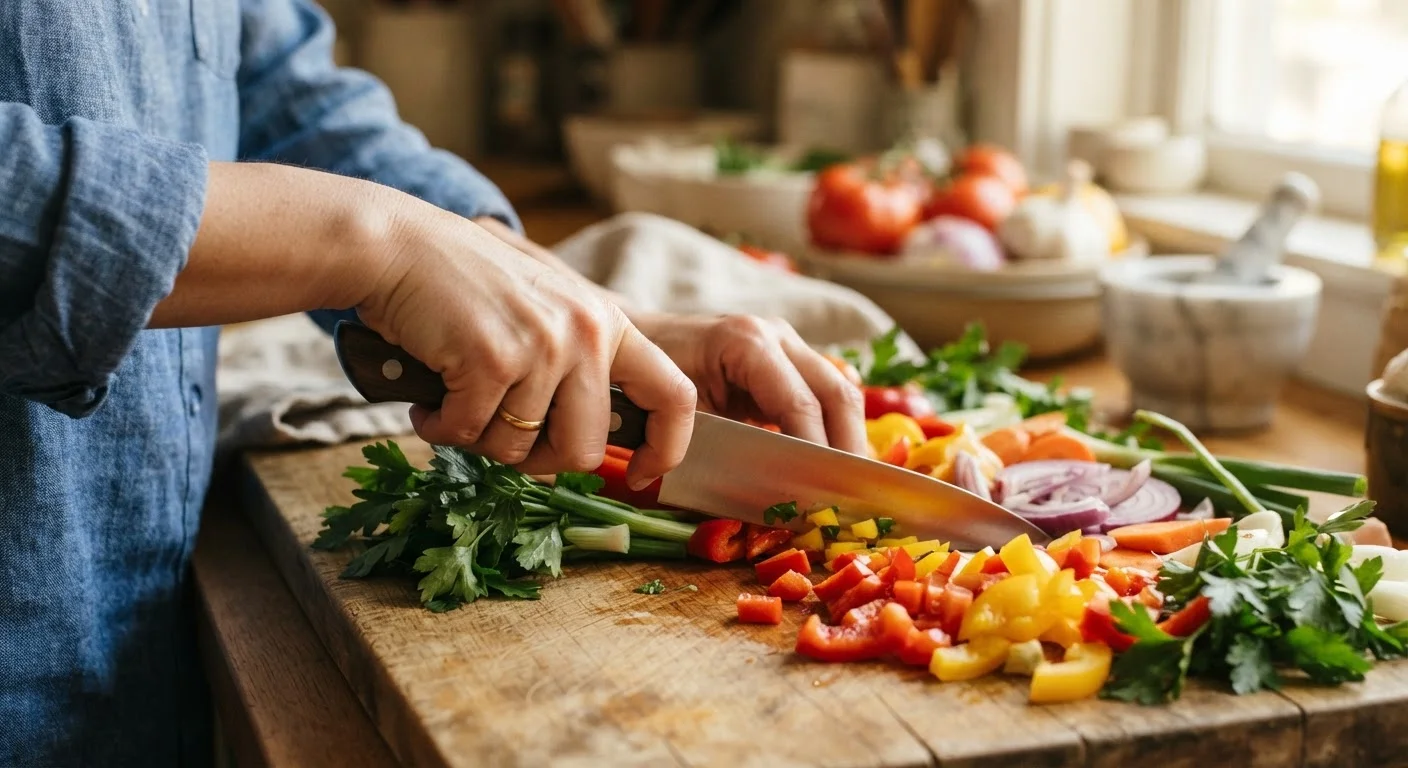
Photo: ArticleHood.com | Precision In Every Word editorial
Key Takeaways
- A sharp knife is safer than a dull one because it requires less force and gives you more control.
- The pinch grip - holding the blade between thumb and forefinger - provides the most stability.
- The claw grip keeps your fingertips curled under, protecting them from accidental cuts.
- Most kitchen prep can be handled by just two knives: a chef's knife and a paring knife.
- A stable cutting board is the foundation of every safe cutting session.
Why Knife Skills Matter Before Anything Else
Most kitchen anxiety traces back to the cutting board. Fumbling with a knife slows prep down, creates uneven pieces that cook unevenly, and - most importantly - raises the risk of injury. Learning how a knife actually works before you start cooking is one of the highest-return investments a beginner can make.
Good knife skills don't require culinary school. They require understanding a few core principles: how to hold the knife, how to protect your fingers, and how to set up your workspace. Once those click, everything from chopping an onion to breaking down a chicken feels manageable rather than stressful.
If you want to build broader kitchen confidence alongside your knife work, the guide to reading a recipe is a natural companion - understanding prep instructions on paper and executing them at the board go hand in hand.
Pinch grip
A way of holding a knife where your thumb and bent index finger pinch the blade itself, just above the handle, for better control and less fatigue.
Claw grip
A way of positioning the hand holding the food, with fingertips curled under so knuckles face the blade - protecting fingers from cuts.
Honing
Using a honing steel to realign a knife's edge between sharpening sessions. It doesn't remove metal - it just straightens the existing edge.
Sharpening
A process that removes a small amount of metal from the blade to create a fresh, sharp edge. Done less frequently than honing.
Guide hand
The hand not holding the knife - the one holding the food steady. Using it correctly (in a claw grip) is key to cutting safely.
Dice
A precise cut that produces uniform cubes of food, categorized by size: small, medium, or large.
Choosing the Right Knife for the Job
You don't need a full knife block. For most home cooks, two knives cover nearly every task: a chef's knife (8-10 inches) and a paring knife (3-4 inches).
- Chef's knife: Your go-to for chopping vegetables, slicing meat, and dicing herbs. The curved blade allows a rocking motion that speeds up repetitive cuts.
- Paring knife: Better for small, controlled tasks - peeling, trimming, or segmenting citrus where a large blade would be unwieldy.
Beyond having the right knife, keeping it sharp is non-negotiable. A dull blade requires more force, which means less control. A honing steel (used regularly to realign the edge) and occasional sharpening (to remove and reset the blade metal) keep your knife performing safely. If you're unsure how sharp your knife is, try slicing a sheet of paper - a sharp knife cuts cleanly; a dull one tears.
How to Hold a Knife Correctly
The way most beginners hold a knife - gripping only the handle - actually reduces control. Professional cooks use the pinch grip: the thumb and the side of the bent index finger pinch the flat of the blade just above where it meets the handle, while the remaining three fingers wrap around the handle.
This grip does several things at once. It lowers the center of gravity of the knife, reduces wrist fatigue during longer prep sessions, and gives you precise directional control. It feels awkward for the first five minutes and natural after that.
Practice Grip on a Dry Run First
Avoid a tight death-grip on the handle. Your grip should be firm but relaxed - tension travels up your arm and slows you down. Think of it as holding a handshake, not squeezing a stress ball.
The Claw Grip: Protecting Your Fingers
The hand that holds the food - your guide hand - is just as important as the hand holding the knife. The claw grip keeps your fingertips safe by curling them under so only your knuckles are exposed. The flat side of the blade rests lightly against those knuckles as you cut, which also guides the knife and controls slice thickness.
Practice the claw grip with something forgiving, like a carrot or a potato, before moving on to round or slippery items like onions. The reflex to keep your fingers curled will develop quickly with repetition.
Never Cut Toward Your Own Body
Core Cutting Techniques Every Beginner Needs
Recipes use specific cutting terms that describe the size and shape of the finished piece. Knowing what they mean - and how to produce them - removes guesswork and helps your food cook evenly.
- Slice
- A single, smooth cut through food. Draw the knife backward slightly as you push down to let the blade do the work.
- Chop
- Rough cuts where exact size matters less. Used for aromatics like garlic and onion that will melt into a sauce anyway.
- Dice
- Uniform cubes - small (¼ inch), medium (½ inch), or large (¾ inch). Start by cutting planks, then strips, then cubes.
- Mince
- Very fine, irregular pieces. After rough chopping, rock the blade over the pile - tip on the board, handle pivoting up and down - to reduce the pieces further.
- Julienne
- Thin matchstick strips, usually about 2-3 inches long. Common with carrots and bell peppers for stir-fries.
Pair these skills with a well-stocked pantry and you'll find weeknight prep becomes much more fluid. The essential pantry guide covers which ingredients are worth having on hand to make the most of your new skills.
Setting Up Your Workspace for Safe Cutting
Even perfect technique breaks down on a bad cutting surface. Before you pick up a knife, take two minutes to set up properly.
- Stabilize your board: Place a damp kitchen towel or non-slip mat underneath. A sliding board is a safety hazard.
- Clear the area: Remove anything you don't need. Clutter means your eyes are dividing attention.
- Create a flat surface on round foods: Slice a thin piece off the bottom of any round vegetable - a potato, an onion - so it sits flat before you start cutting.
- Keep a scrap bowl nearby: Pulling trimmings directly off the board keeps your workspace clean and reduces the chance of accidentally cutting through debris.
For a full pre-cooking routine that builds on these habits, see the prep checklist for stress-free meals - it walks through workspace, ingredient, and equipment readiness from start to finish.
Wood vs. Plastic Cutting Boards
Frequently Asked Questions
The content on this site is for informational purposes only and is not a substitute for professional advice. Always consult a qualified professional for guidance specific to your situation.