Home Improvement

Why Freshly Painted Walls Still Look Patchy — and How to Fix It

Why Freshly Painted Walls Still Look Patchy — and How to Fix It

Photo: ArticleHood.com | Precision In Every Word editorial

Patchiness after painting is a common frustration. Here's what causes it and the preparation steps that prevent it from happening again.

Key Takeaways

  • Patchiness is usually caused by prep failures, not poor paint quality or technique.
  • Skipping primer on new or repaired drywall is one of the most common culprits.
  • Applying paint too thinly or in poor lighting conditions compounds uneven coverage.
  • Allowing proper drying time between coats prevents muddy, streaky results.
  • Two coats of quality paint over properly primed walls eliminates most patchiness.

Why Patchiness Happens in the First Place

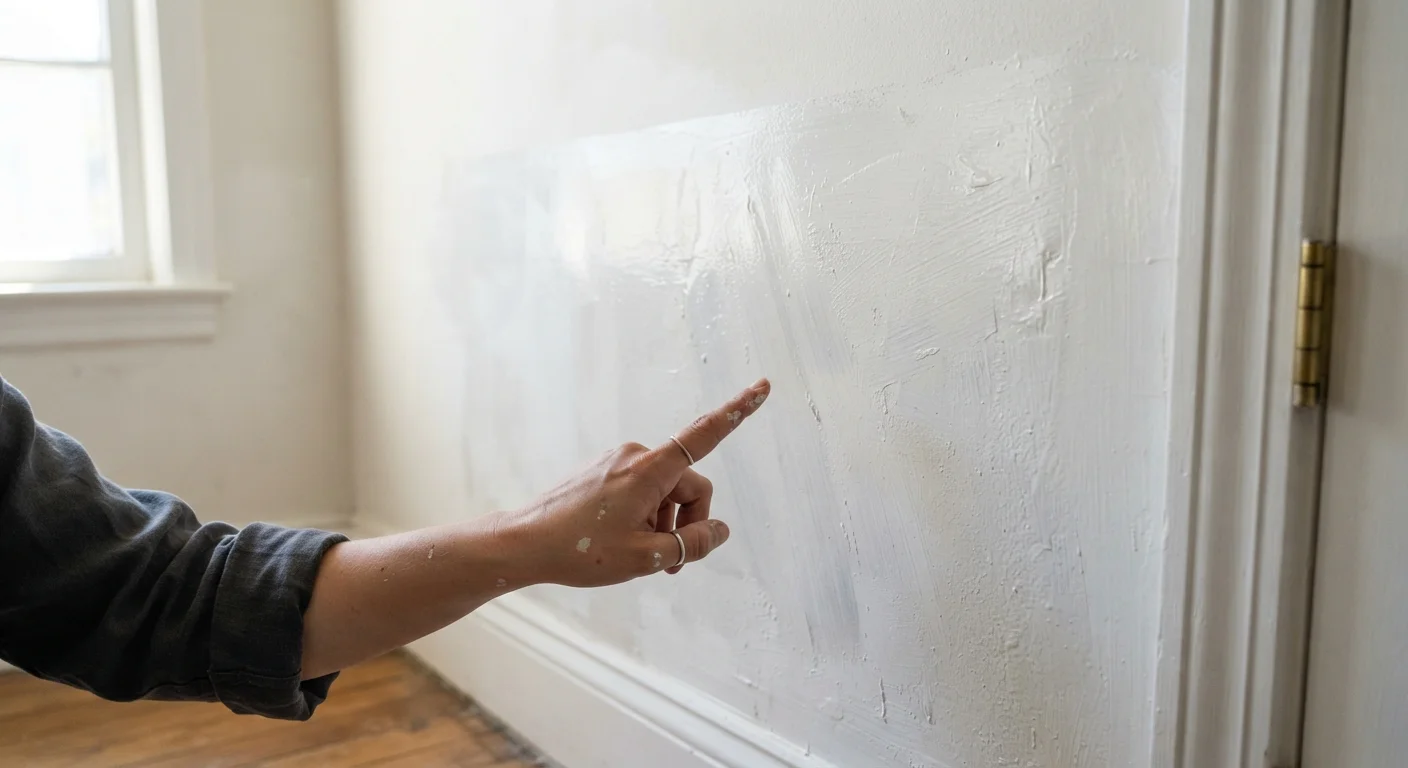
A patchy finish after painting is one of the most common complaints homeowners have — and it's almost always the result of something that happened before the first stroke of paint, not during it. Paint is a surface coating, not a filler. It reveals every imperfection in the substrate underneath, and it responds directly to how well that surface was sealed, cleaned, and prepared.

The good news: patchiness is predictable and preventable. Understanding the specific mistakes that cause it puts you in control of the outcome. Whether you're repainting a room or touching up after repairs, the following errors are the most common reasons walls look uneven after the paint dries — and what you can do differently.

For guidance on choosing the right finish for each room before you start, see our comparison of interior paint finishes.

1

Skipping primer before applying topcoat on bare or repaired walls.

Why it happens: Many homeowners assume modern 'paint-and-primer-in-one' products eliminate the need for a separate primer coat, especially on small patched areas.
How to avoid: Apply a dedicated coat of primer to any bare drywall, joint compound, or spackle before painting. Let it dry fully per the manufacturer's instructions. Combination paint-and-primer products perform best over surfaces that are already sealed and in good condition — not over raw materials.
2

Applying paint too thinly, leaving insufficient pigment on the wall surface.

Why it happens: Trying to stretch a can of paint or rushing through the job leads to thin, translucent coats that show the underlying surface through the finish.
How to avoid: Load your roller adequately and use slow, overlapping strokes with light, even pressure. Work in manageable sections — roughly 3-by-3-foot areas — maintaining a wet edge so each stroke blends smoothly into the previous one.
3

Painting over a dirty, dusty, or greasy wall surface.

Why it happens: Walls often look clean to the naked eye, making thorough washing feel like unnecessary extra work before painting.
How to avoid: Wash walls with a mild detergent solution and allow them to dry completely before applying any primer or paint. Pay extra attention to areas near cooking surfaces, doorframes, and light switches where grease and grime accumulate. Paint that can't bond to the wall surface lifts and looks uneven.
4

Not allowing adequate drying time between coats.

Why it happens: Impatience — or underestimating how humidity and temperature slow drying — leads painters to apply a second coat over a surface that isn't fully cured.
How to avoid: Follow the recoat window listed on the paint can, typically two to four hours for latex paint under normal conditions. In humid or cool rooms, allow additional time. A second coat applied too soon can pull up the first layer, creating a streaky, muddy appearance that's difficult to correct.
5

Using the wrong roller nap thickness for the wall texture.

Why it happens: Most people grab whatever roller is available without considering how its pile depth interacts with the wall surface.
How to avoid: Smooth and lightly textured walls generally benefit from a 3/8-inch nap, while more heavily textured surfaces need a 1/2-inch or thicker nap to deposit paint into recesses. The wrong nap leaves thin spots in low areas, which appear as light patches after drying.

How to Assess and Correct a Patchy Wall

If you're already looking at a patchy wall, don't reach for the paint roller immediately. First, identify what caused the problem so you're not compounding the same mistake.

Don't Judge Coverage in Bad Lighting

Overhead room lighting can mask thin spots and lap marks that only become obvious in raking daylight. Before calling a paint job done, use a work light or open blinds to inspect the wall from an angle. Catching thin areas while the paint is still workable saves a return trip with fresh paint.

Run your hand lightly over patchy areas. If the surface feels rough or raised, the previous coat may have dried too quickly or been applied unevenly. Light sanding with fine-grit sandpaper (220-grit is a common choice) can smooth these spots before recoating. If patches look dull and porous — common over spackled repairs — spot-prime those areas before adding another topcoat.

Primer Is Not Optional on Bare Surfaces

Unpainted drywall, joint compound, and heavily patched areas are highly porous and will absorb paint unevenly no matter how carefully you apply it. Priming seals the surface so paint adheres consistently. Skipping this step virtually guarantees a patchy finish — and no amount of extra topcoats will fully compensate.

For rooms you're planning to decorate further after painting, a smooth and consistent base coat matters more than you might expect. Our guide to planning a gallery wall explains why wall condition affects how hardware and frames sit on the surface.

Once patchy areas are primed and dry, apply a full second coat using consistent pressure and a proper wet-edge technique. Work room by room, and inspect under strong directional light before declaring the job finished. Most patchy results resolve completely with correct prep followed by two solid topcoats. And if you're curious how wall color itself affects the perception of your space, our article on myths about dark paint in small rooms offers useful perspective.

Home & Living Editorial Team

ArticleHood.com | Precision In Every Word

Home & Living Editorial Team is the collective byline for our editorial team and contributor network. Articles published under this byline or an editorial pen name are researched, written, and reviewed according to our editorial standards for clarity, consistency, and independence before publication.

Home ImprovementHome DécorHousehold Essentials
View author profile

The content on this site is for informational purposes only and is not a substitute for professional advice. Always consult a qualified professional for guidance specific to your situation.