
Setting Up a Wi-Fi Network at Home for the First Time

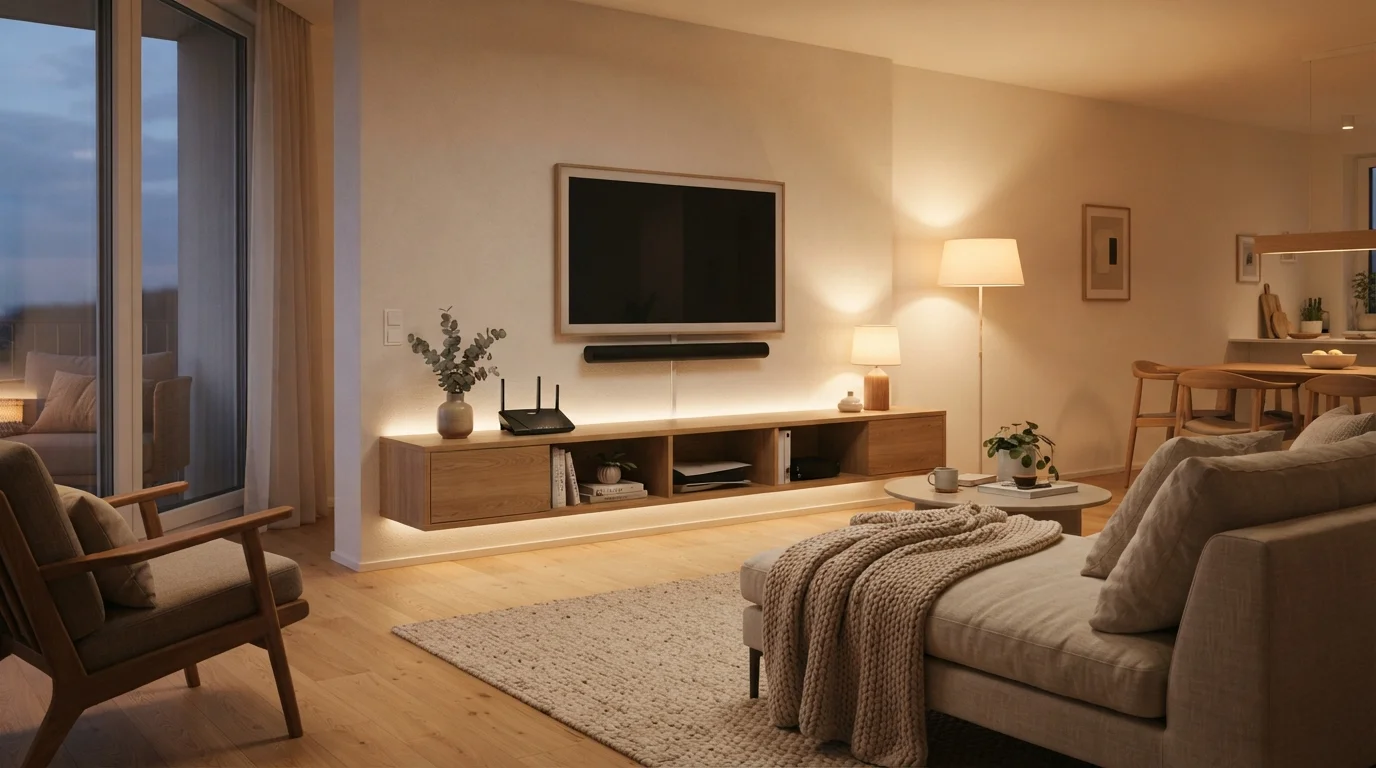
Photo: ArticleHood.com | Precision In Every Word editorial
Key Takeaways
- Your internet service provider supplies the modem; you typically supply the router that broadcasts Wi-Fi.
- Router placement in a central, elevated spot meaningfully improves signal coverage throughout your home.
- Changing your network name and password during setup is a critical security step, not an optional one.
- Most modern routers offer a mobile app or web-based setup wizard that eliminates the need for technical knowledge.
- Keeping router firmware updated protects your network and often improves performance over time.
What You Need Before You Start
Before touching a cable, it helps to understand the two pieces of hardware involved. Your modem is the device your internet service provider (ISP) uses to bring an internet signal into your home - many ISPs rent one to you as part of your plan. Your router is the device that takes that signal and broadcasts it wirelessly throughout your home as Wi-Fi. Some ISPs provide a single device that combines both functions; if yours does, you may only need to configure that one unit.
If your ISP provides only a modem, you will need to purchase a separate router. When shopping, focus on coverage area (measured in square feet) and the number of devices you plan to connect. For larger homes or those with dead zones, a mesh system may serve you better - see our guide to mesh Wi-Fi trade-offs before deciding.
What you will need
Once you have everything in hand, find a good starting location. A central spot in your home, elevated off the floor and away from walls and large metal objects, will give you the broadest coverage. This single decision affects signal quality more than almost anything else.
How to Set Up Your Network Step by Step
The process is more straightforward than most first-timers expect. Modern routers include guided setup apps that walk you through each screen. Follow the steps below in order, and you should have a working network within the hour.
Connect your modem to your ISP's line
Plug your modem into the wall outlet your ISP uses to deliver internet - this is typically a coaxial cable port (a round, threaded connector) or a phone-line port (a smaller rectangular slot). Plug the modem's power adapter into the wall and wait for its indicator lights to stabilize. This usually takes one to three minutes.
Connect the router to the modem
Use the included ethernet cable to connect the modem's output port (often labeled LAN or Out) to the router's input port (typically labeled WAN or Internet and often colored differently from the other ports). Plug the router into power and wait for its lights to indicate it is ready - this typically takes one to two minutes.
Run the router's setup wizard
Most modern routers offer a dedicated smartphone app for setup - check the router's packaging or documentation for the app name and download it. Alternatively, connect a laptop or phone to the router's default Wi-Fi network (the network name and password are printed on the router's label), then open a browser and navigate to the address shown in your router's quick-start guide (commonly 192.168.1.1 or 192.168.0.1). The wizard will prompt you through each remaining step.
Create a unique network name and strong password
During setup, you will be prompted to name your Wi-Fi network (this is called the SSID) and set a password. Choose a name that does not identify your address or your name - this information is visible to neighbors. For the password, use a combination of letters, numbers, and symbols that is at least 12 characters long and that you have not used elsewhere.
Update the router's firmware
Before connecting any devices, check for a firmware update inside the router's app or admin panel. Firmware is the software that runs your router, and manufacturers release updates to patch security vulnerabilities and improve stability. Many newer routers apply updates automatically, but it is worth confirming this setting is enabled.
Connect your devices
On each phone, tablet, laptop, or smart TV, open the Wi-Fi settings, find your newly named network, and enter the password you created. Devices with ethernet ports (like desktop computers or gaming consoles) can be connected directly to the router's numbered LAN ports using ethernet cables for a more stable connection than Wi-Fi.
Label Your Network Password Somewhere Safe
Once every device is connected, it is worth thinking about what comes next. If you are planning to add smart home gadgets, our beginner's map of the smart home ecosystem explains how those devices communicate over your new network. For laptops joining the network, setting up a new laptop without leaving security gaps covers the next layer of protection worth applying.
Common Problems and How to Approach Them
Even a clean setup can run into hiccups. Here are the most frequent ones and their straightforward fixes.
- No internet after connecting: Confirm the coaxial or phone line entering your modem is fully seated. Then restart the modem first, wait 60 seconds, and restart the router second. ISPs sometimes require a brief re-authentication after a new device is connected.
- Weak signal in certain rooms: Router placement is almost always the cause. Moving the router even a few feet - higher, more central - can make a noticeable difference. Walls made of concrete or brick absorb signal significantly.
- Devices won't connect: Double-check that you are entering the password for your newly named network, not the default one printed on the router label.
- Slow speeds despite a strong signal: Run a speed test using your ISP's recommended tool or a reputable third-party site. If speeds are far below your plan, call your ISP - the issue may be on their end. For ongoing performance issues, our article on habits that quietly undermine Wi-Fi performance covers the most common self-inflicted causes.
Avoid Sharing Your Main Network Password Freely
Curious about what is actually happening when your devices reach the internet through your new router? Our explainer on what happens inside a router the moment you hit a web page walks through the full journey from request to response.
The content on this site is for informational purposes only and is not a substitute for professional advice. Always consult a qualified professional for guidance specific to your situation.